
feel the flow
september, 2020
there are soooooooo many ways to organize closets and all of them are the best! they all have one specific logic for each individual person and the owner just knowwwwws it. ha! but thennnnnn there is also total chaos and no rhyme or reason, just digging and searching and freaking and wasting our damn time! i’ve been there and i know it well so my organization method is alllll about that. and a few other things. here it is in 6 easy steps. i’ll be sharing a lot more specific detail photos as illustrations in later posts but i wanted to set the foundation first.
1. you need to see it!
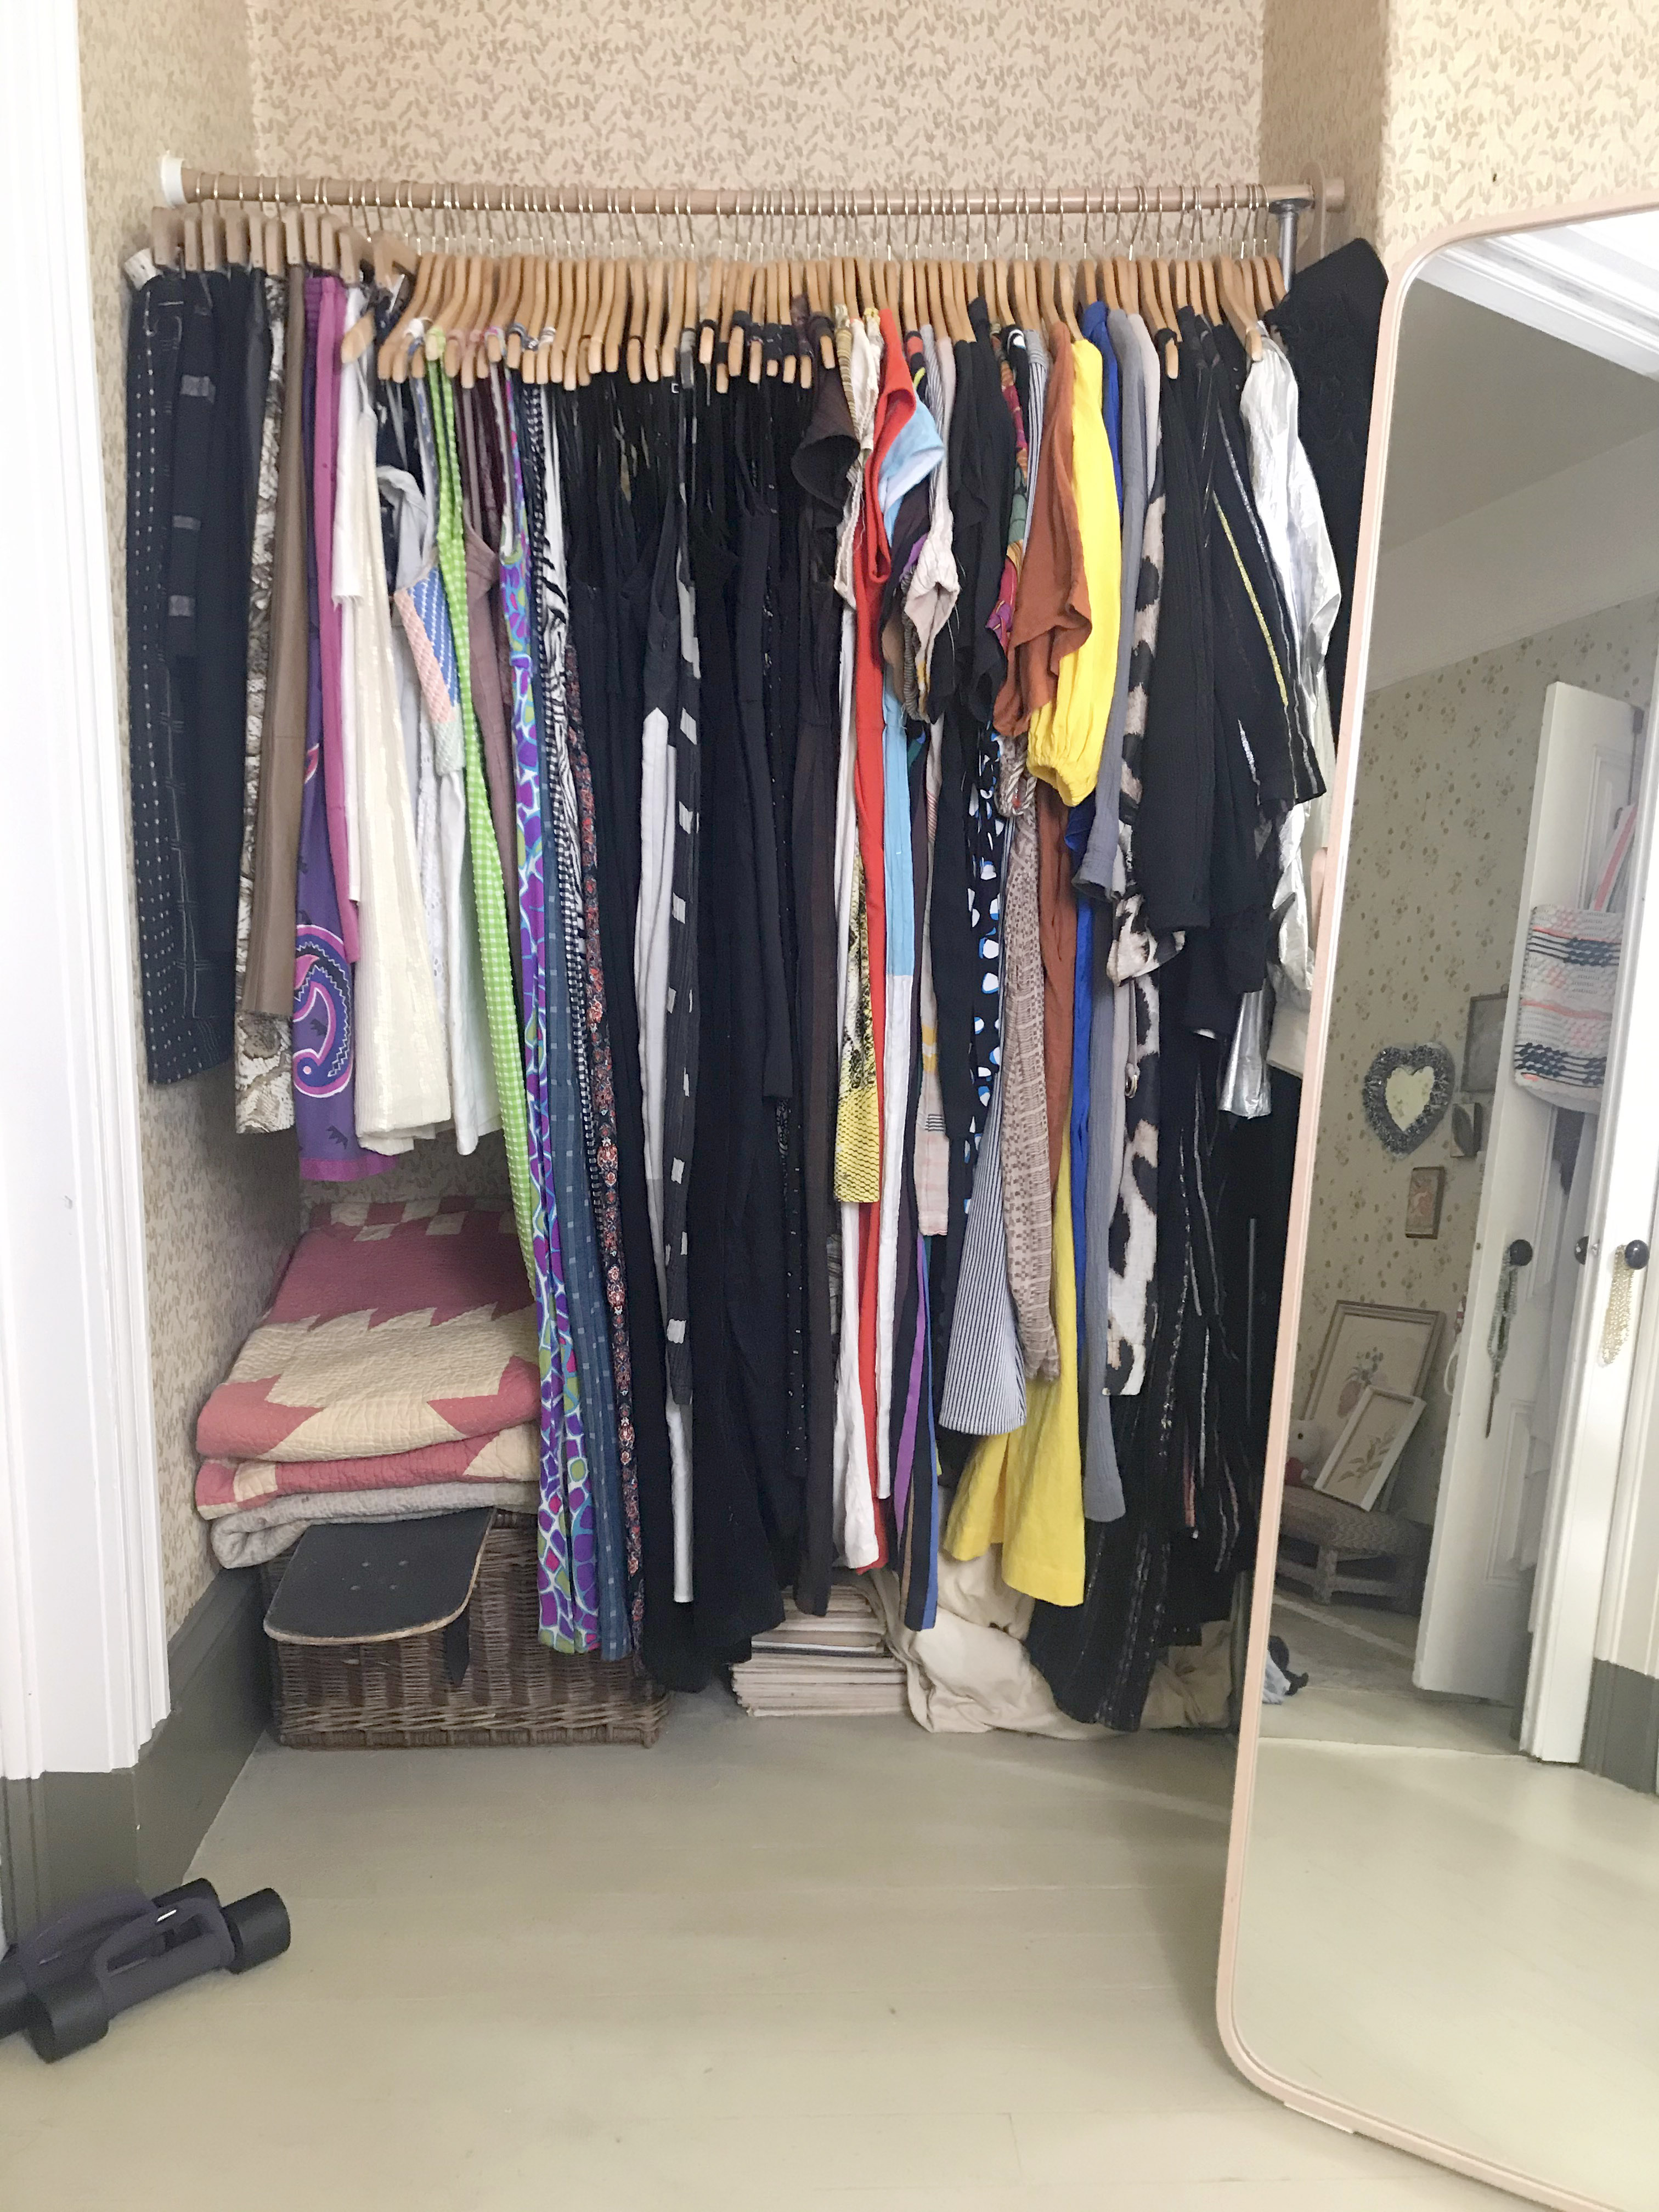
when i first look at a closet, i look at the approach. how do i see the space.
what is the flow of my gaze. this is the starting point. every garment should face me so i can see it.
and sometimes this means making a split or break in middle so that two sides are now facing me.
shorter to longer by sleeve length
2. seperate your clothes by categories!
this is a requirement to make inspired outfits. this also may mean seperating your categories into different spaces, if you have to.
i have my skirts and dresses together. my pants are together, all my blouses are together in a seperate space, coats in a coat closet.
you get it....
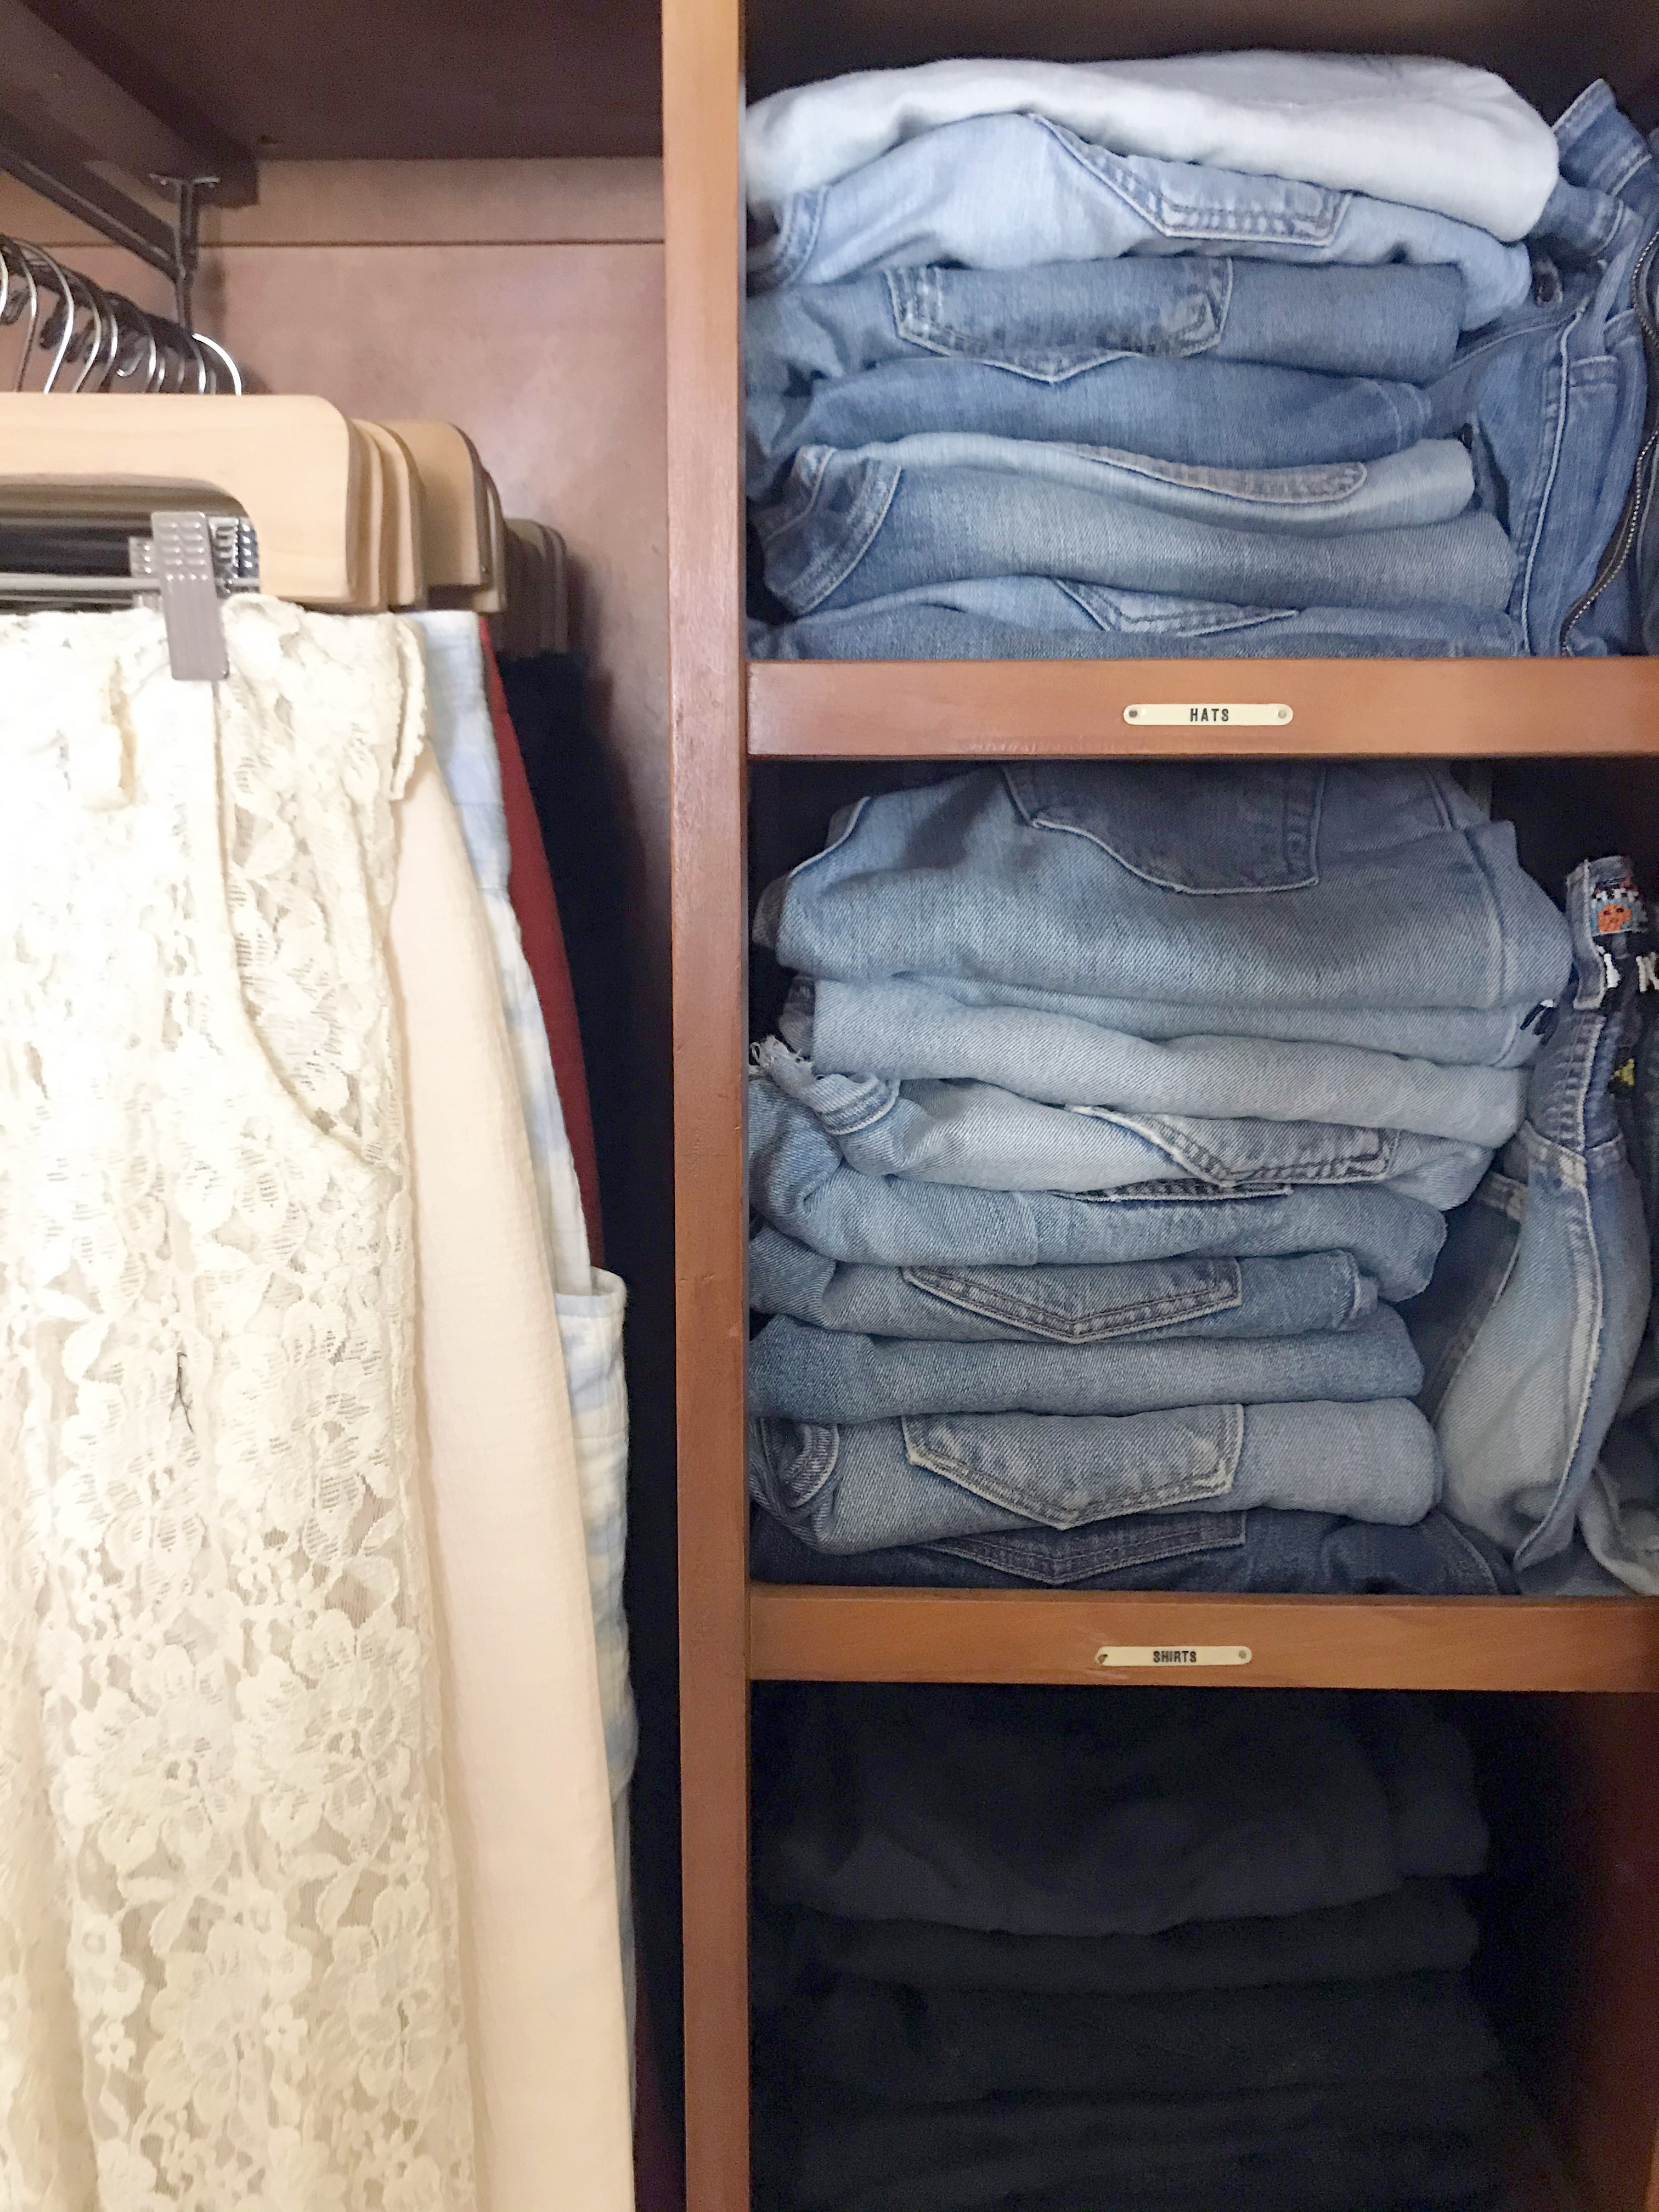 denim/ trousers by color, left.
i organize my denim by brand and color.
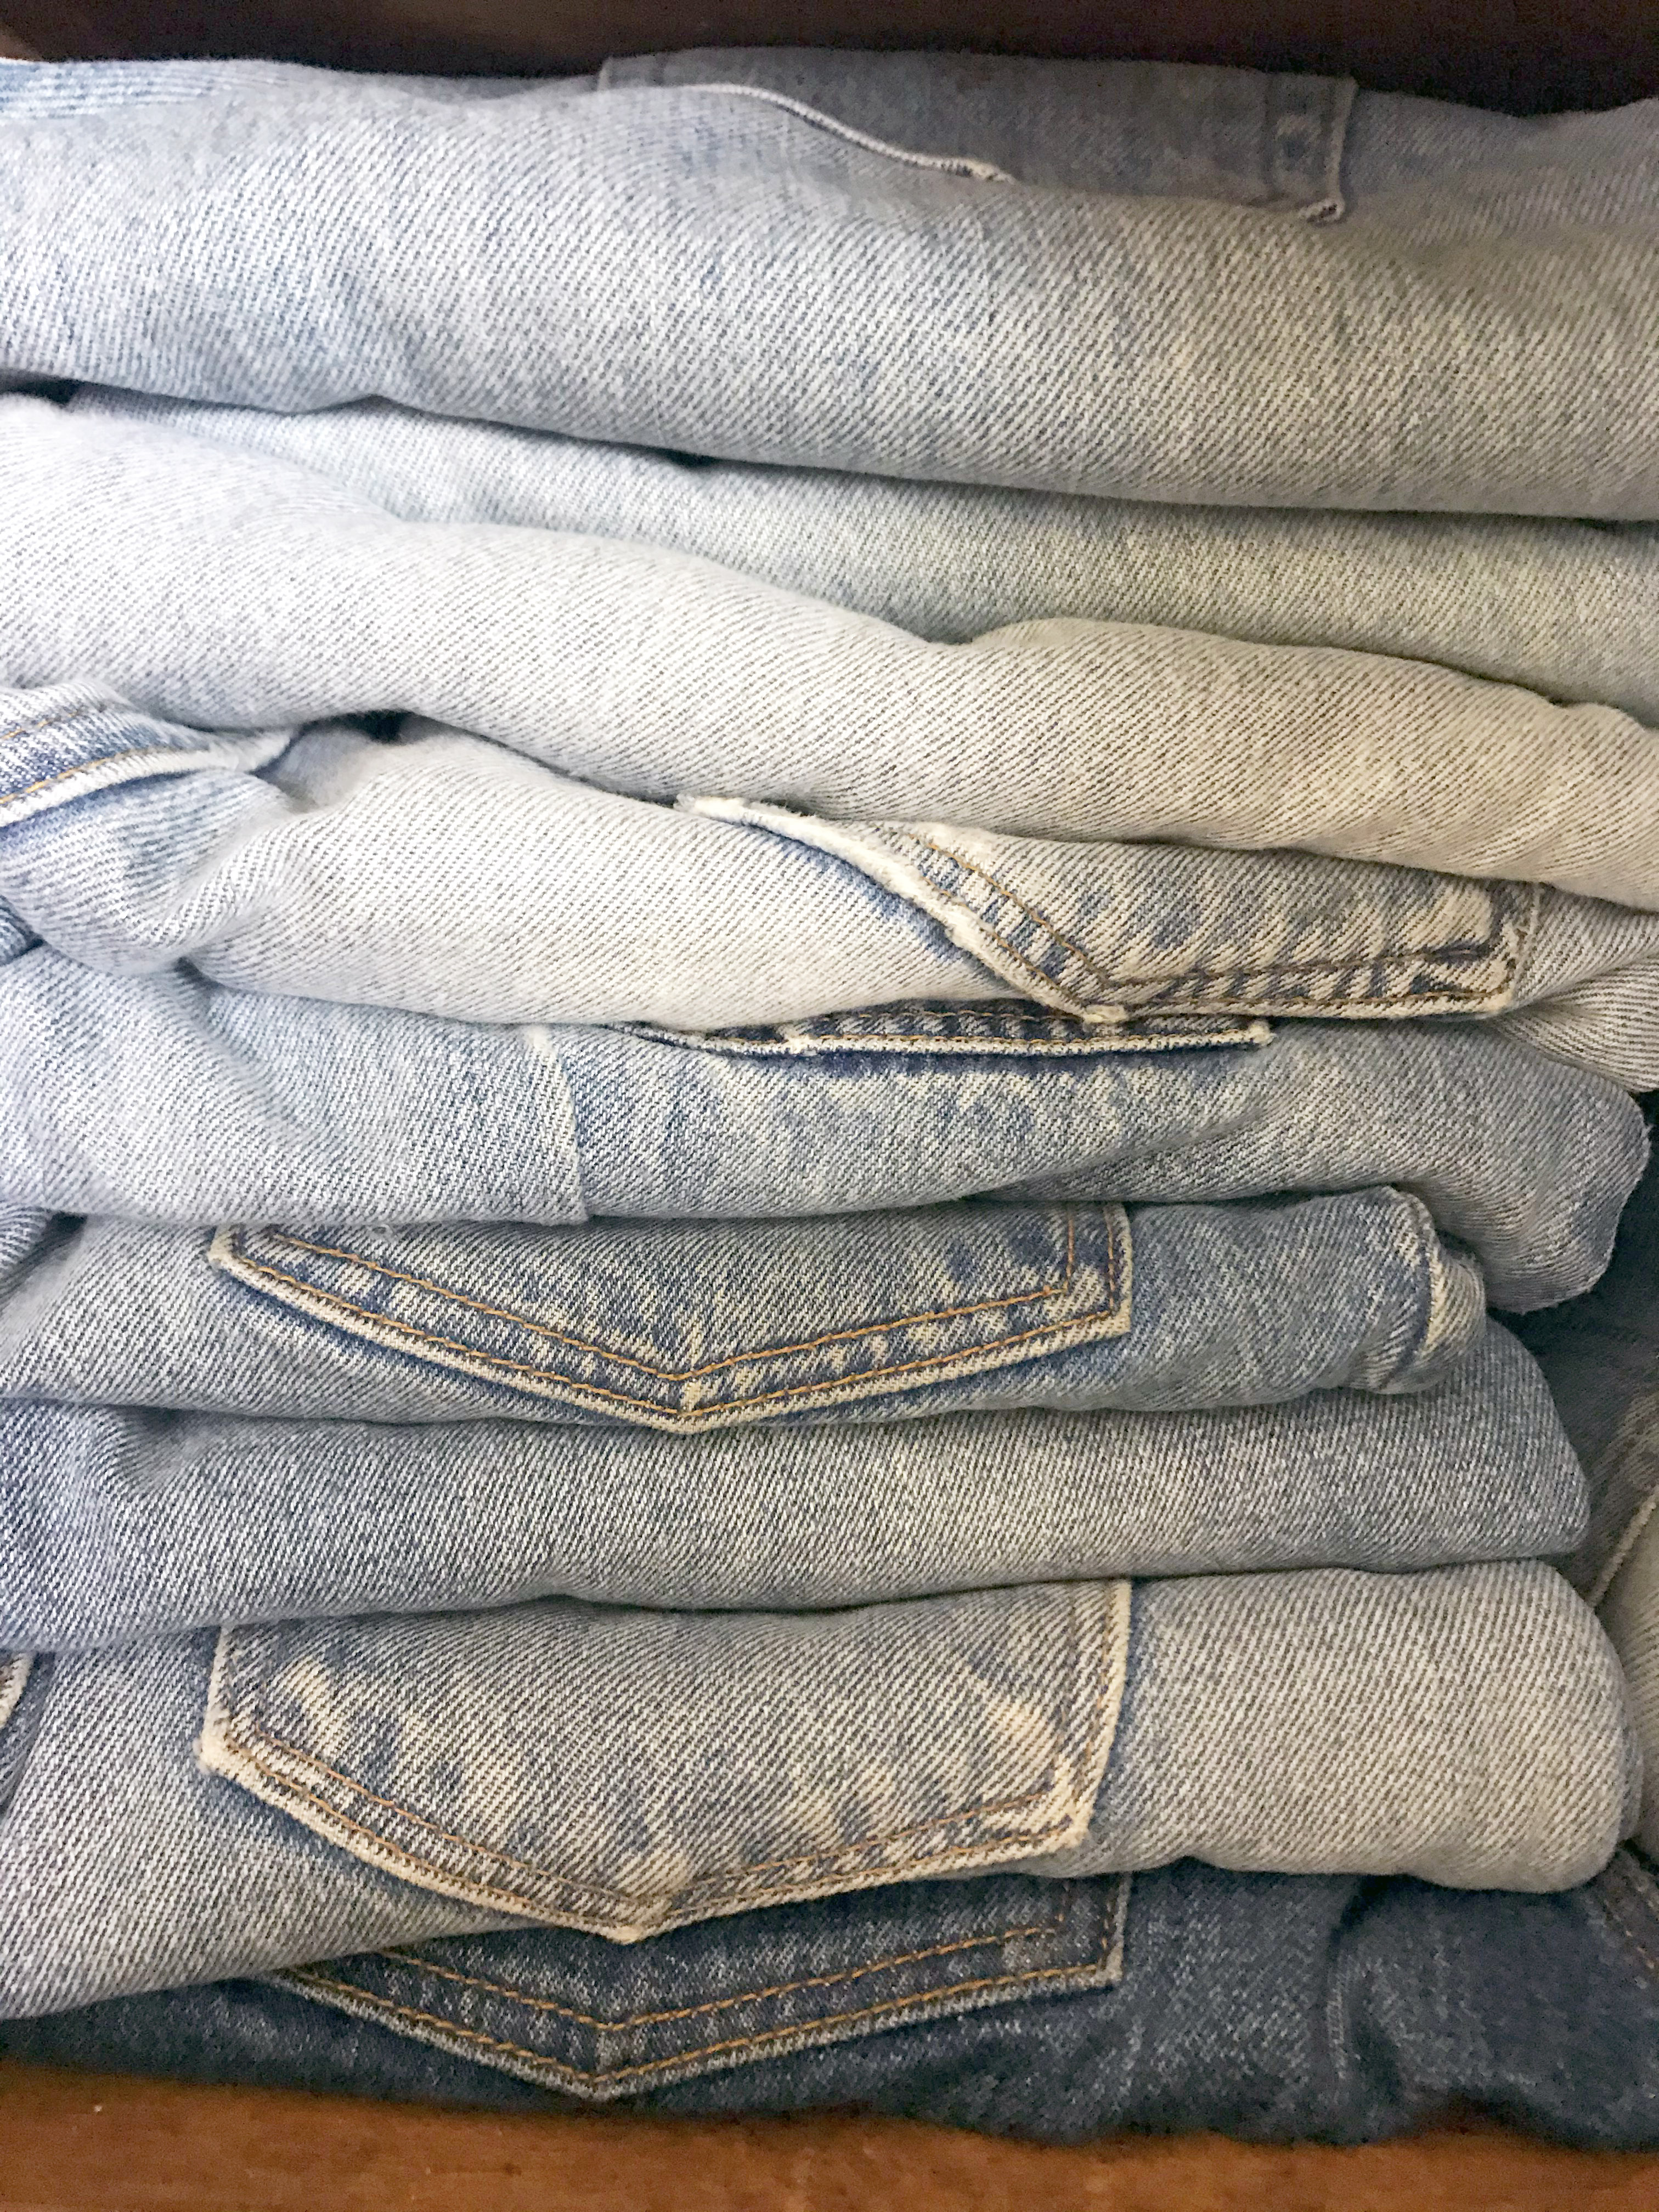 these are all my levis.
3. skinny straps in the front!
you want to be able to see what’s behind the next thing in order to create outfits.
if you can’t see it, you won’t wear it. if you hide skinny strap stuff behind big stuff, you won’t see it! so that’s the first step. doing monochrome organization looks great but you’re trying to get dressed here. this isn’t an instagram post.
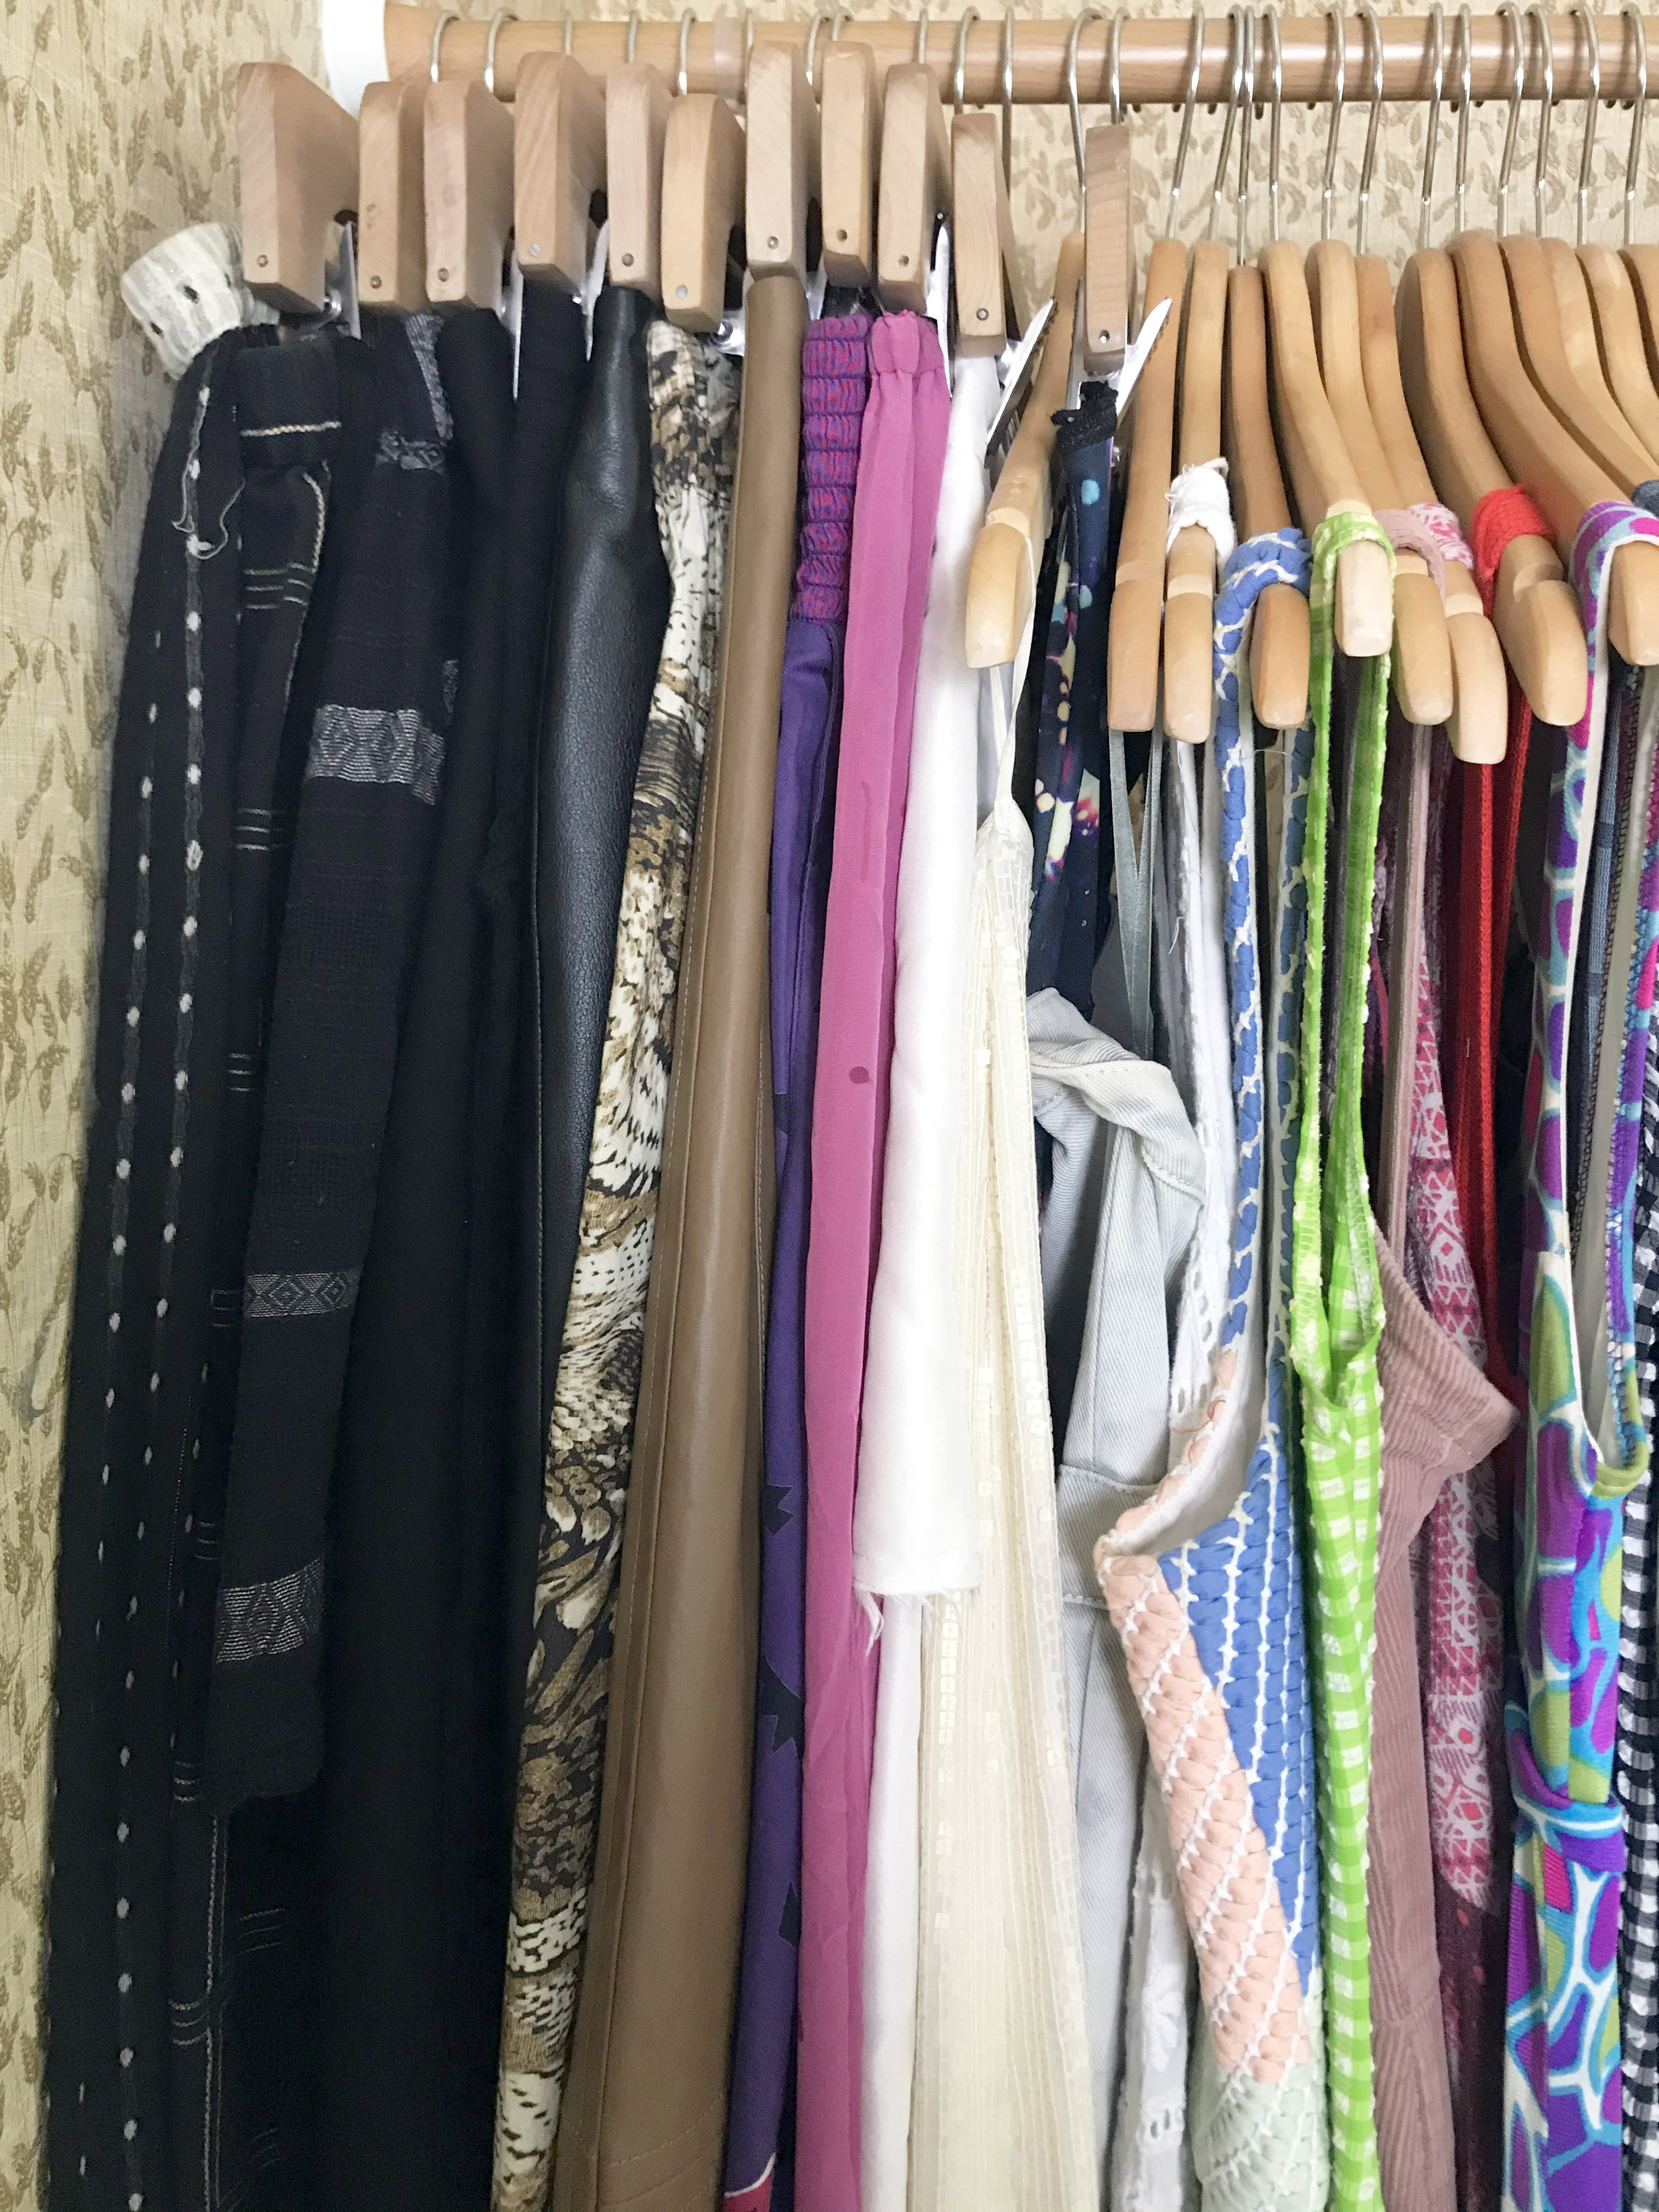
skirts first facing in and then dresses.
that is the facing split.
that is the facing split.
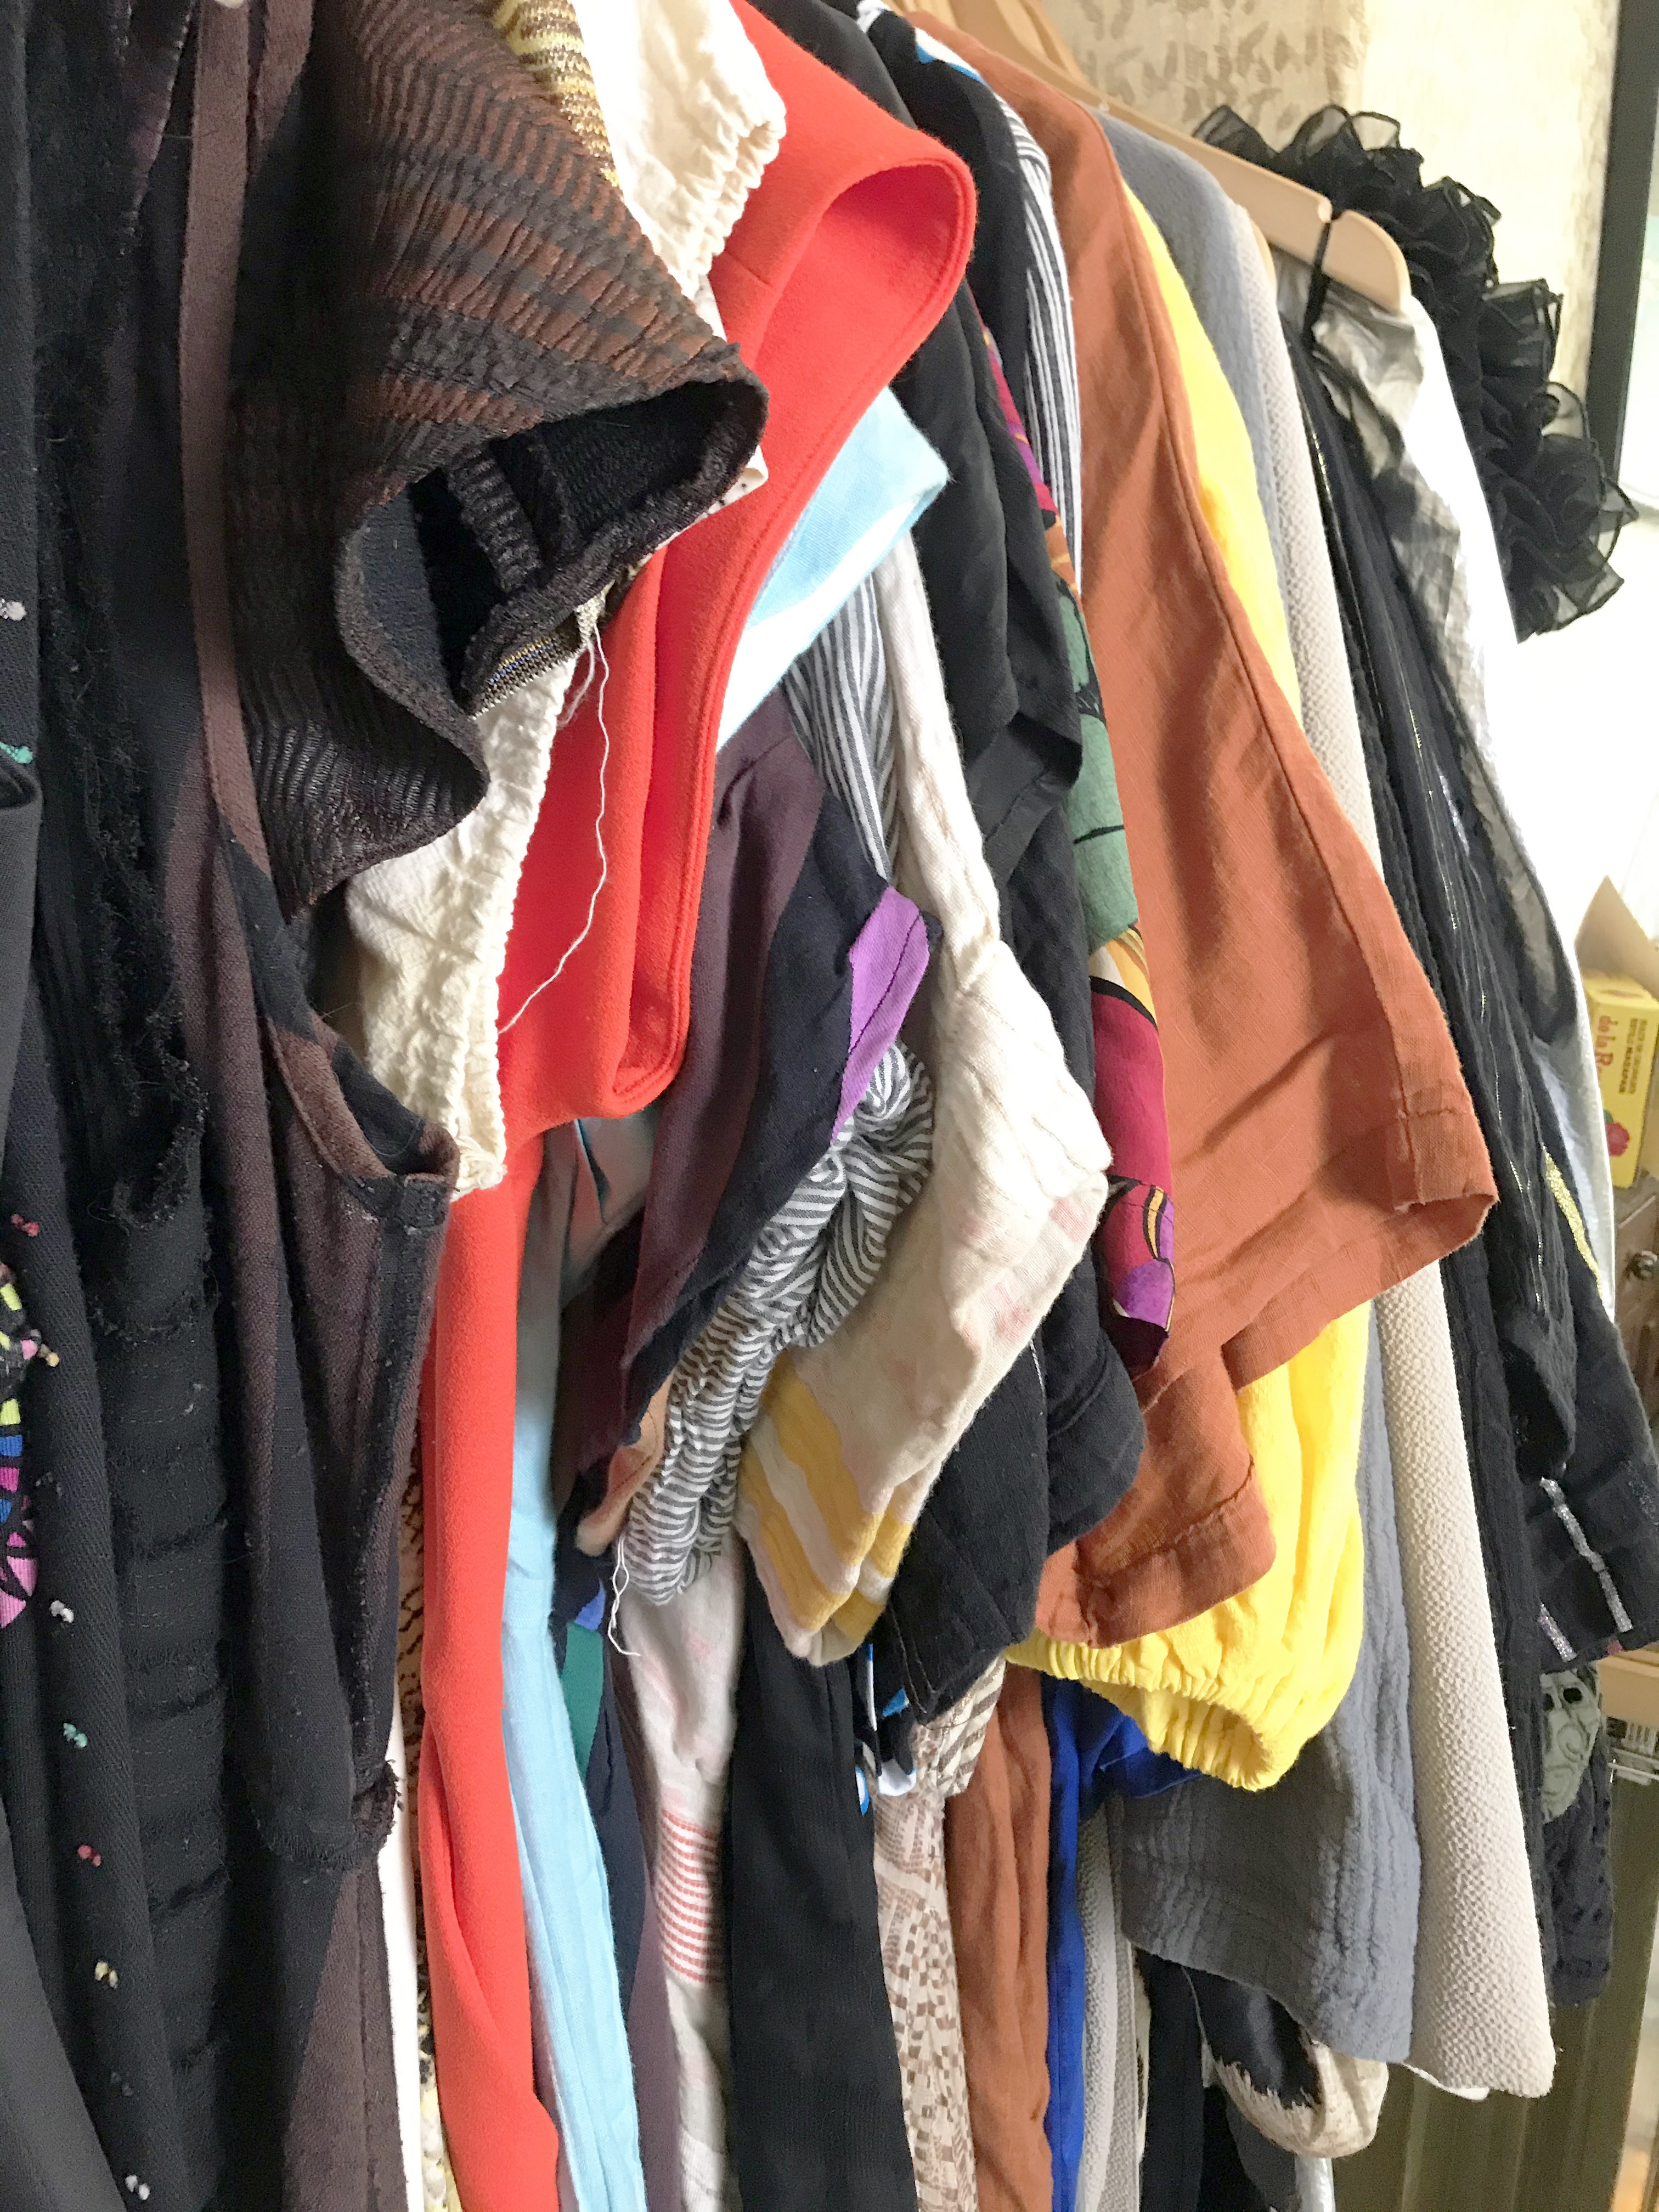
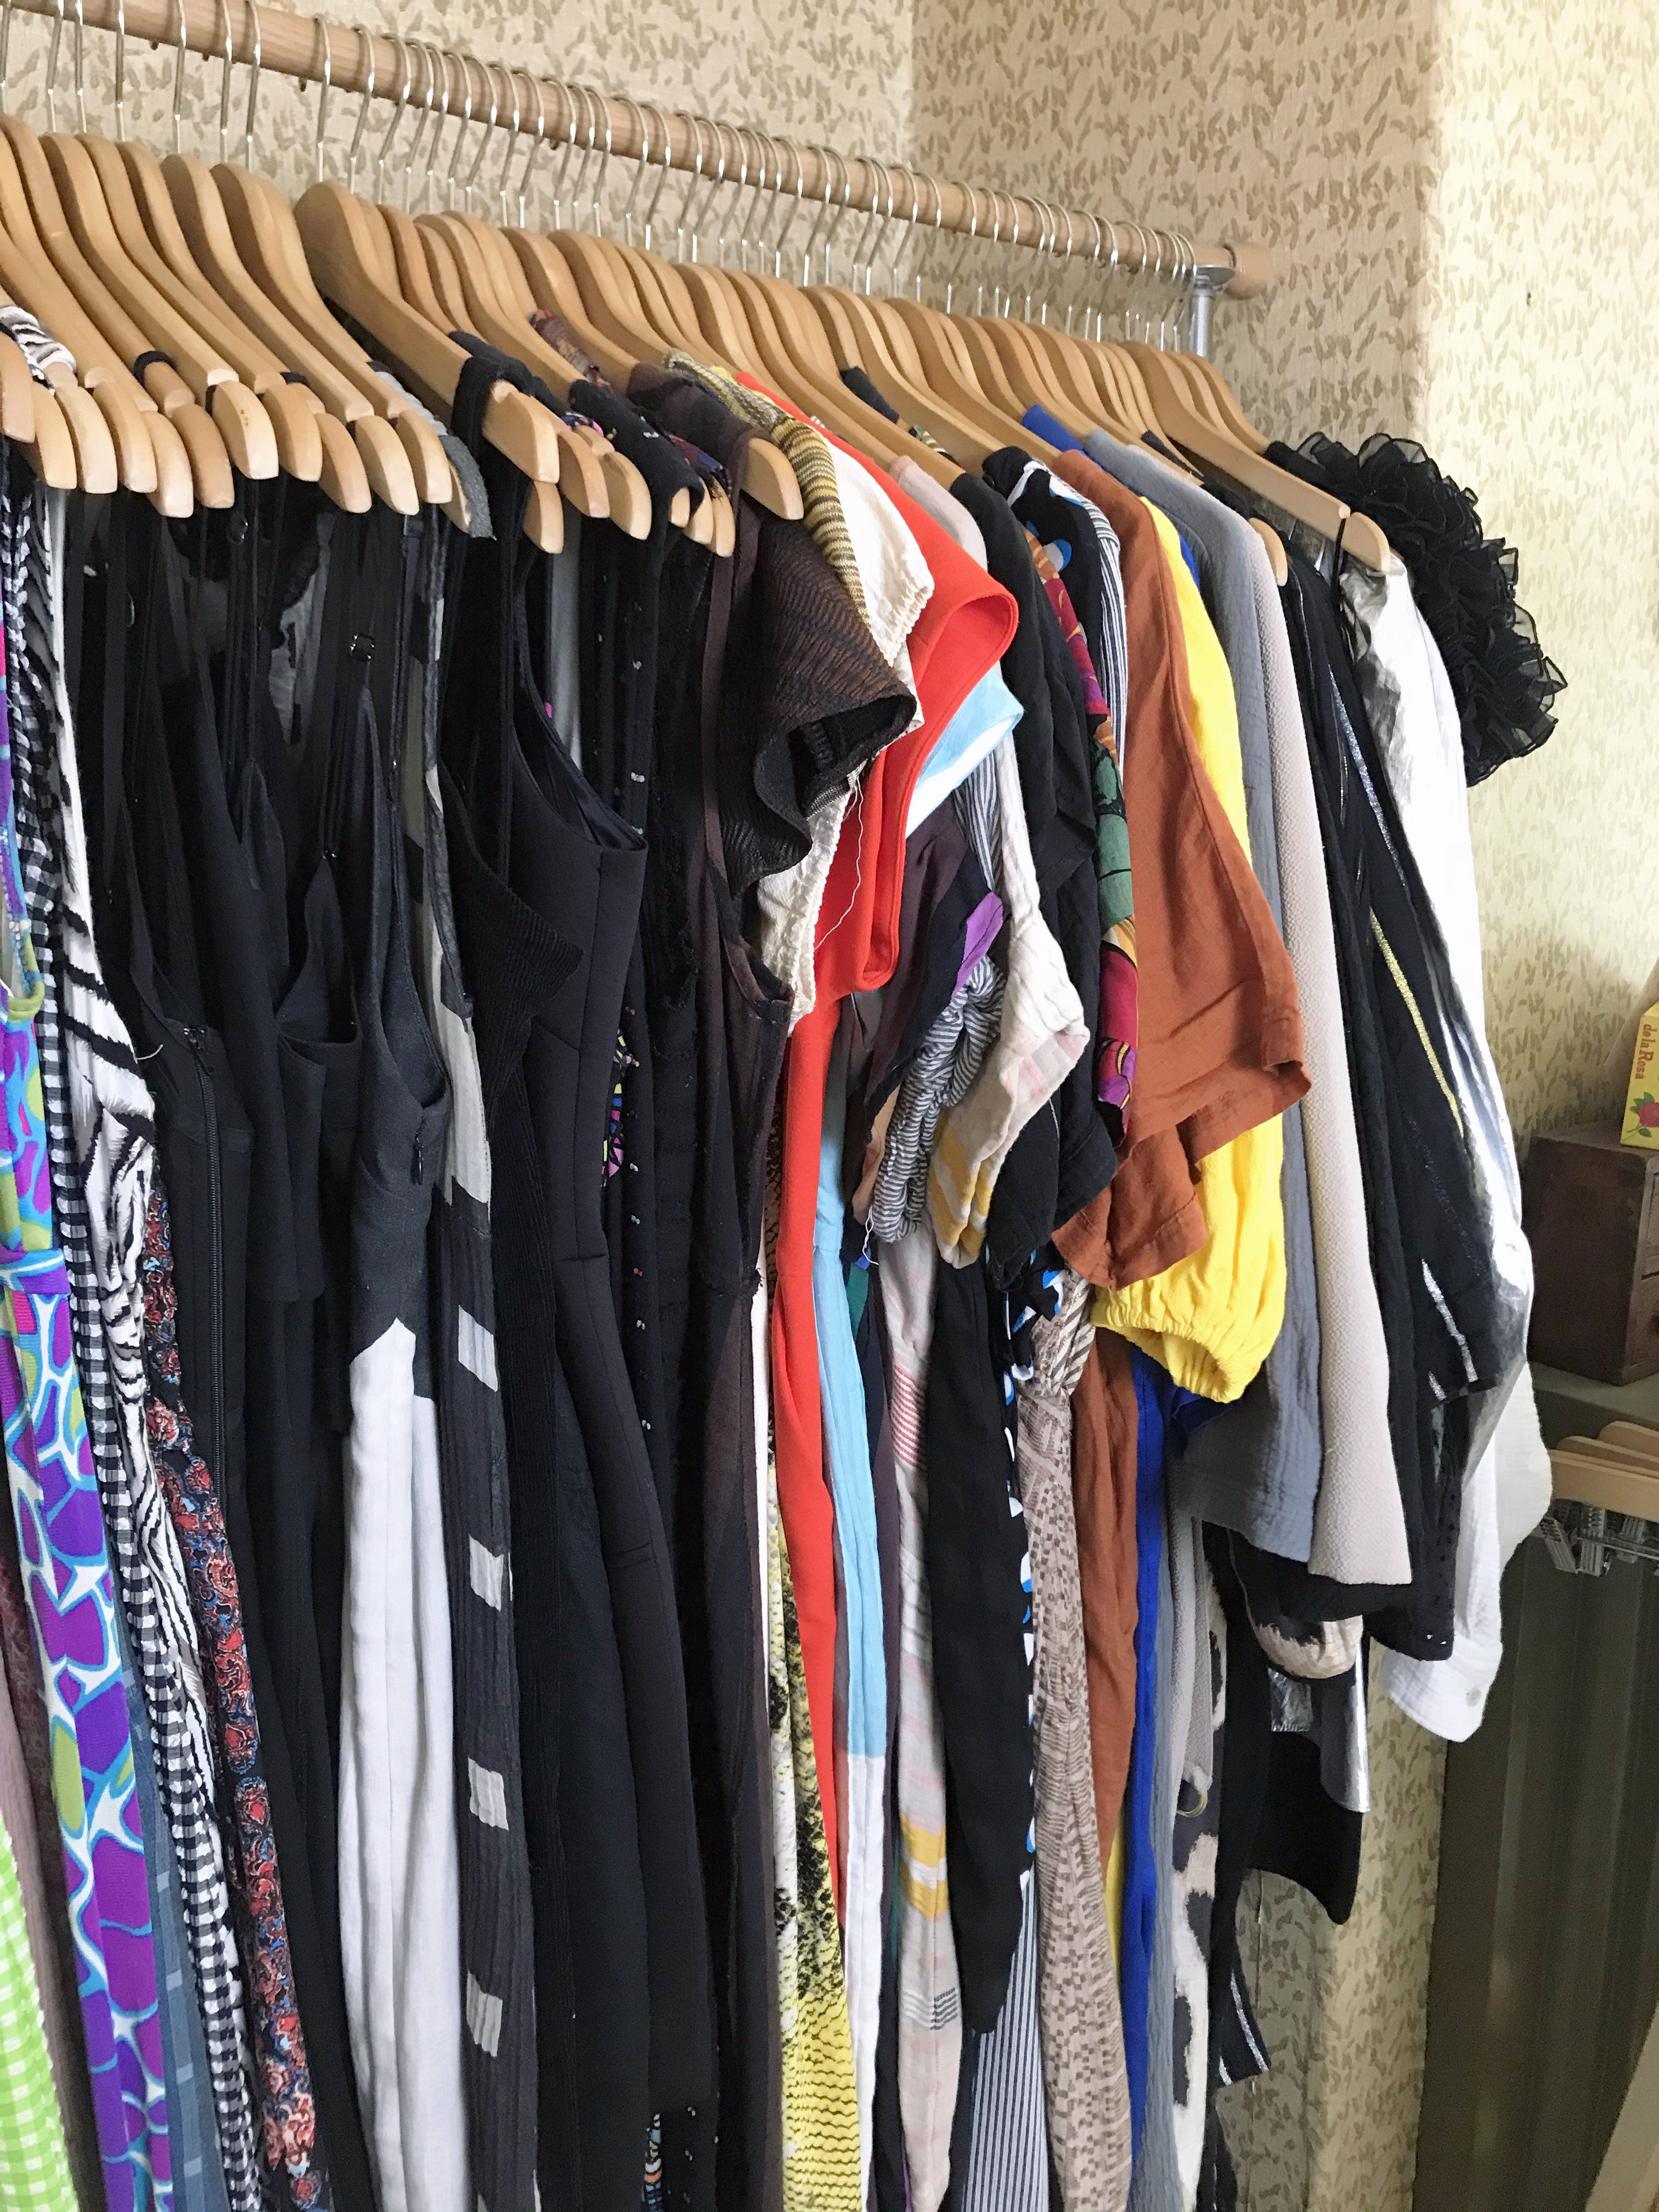
4. arrange loosely by color (sleeve length trumps all)!
starting with light and then going to dark in each sleeve length, play with the flow of the garments. put solids together but then add prints that have pop colors to transition into the next color. your sleeve profile is always your guide, getting longer as you progress down, you make your way down the closet. heavier fabrics should always be at the end of every group, color, or category. you want to be able to see every piece.

organized loosely by color but mostly sleeve length.
i use prints to transition into the next color.
5. don’t worry about the garment length, especially w dresses! when we get dressed, it starts first with the weather and if our arms need to be covered or not. and there are many ways to style your closet to use strappy stuff layered with long sleeved things underneath or on top. bodysuits, tshirts, light sweaters, thermals, button-downs, cardigans, tights... all of these can be used for layering. so organizing by sleeve profile helps you create inspired looks!
it definitely doesnt matter what the length is when you're looking at the neckline.
6. leave the heaviest or the highest profile stuff for the back! even within your categories, let those heavier or thicker fabrics act as book ends to ground each transition. this is within your categories but also goes for like having coats and the end, too, if you don’t have the option for a seperate coat closet, which is always best.
longest sleeve and biggest profiles at the end.
heavy fabrics at the end of sleeve transitions
heavy fabrics at the end of sleeve transitions